
Exteriors Prepared Correctly Before Any Coating Goes On
Exterior painting in Charleston for residential properties where adhesion and surface prep determine how long the finish lasts
Painted surfaces fail at the prep stage long before they fail at the coating stage—peeling, bubbling, and early fading trace back to surfaces that were not cleaned, primed, or profiled correctly before paint was applied. M & J Drywall & Construction provides exterior painting for residential homes in Charleston using a four-person crew that manages prep, priming, and finish coats as a single continuous project rather than handing off between stages. The same crew that handles interior work runs exterior jobs with the same four-to-five-day completion window, covering the full exterior without stopping mid-project.
Prep on each exterior job includes covering areas that should not receive paint, pressure washing surfaces where adhesion requires a clean profile, and applying primers and topcoats specified for the property type and existing surface condition. The crew works systematically around the exterior rather than tackling sections in isolation, which keeps wet edges active and prevents lap marks where sections meet. Homes on Isle of Palms and in coastal sections of the Charleston area present specific prep demands because salt deposits on wood and fiber cement siding interfere with paint adhesion if not fully removed before primer is applied.
Request a free on-site estimate so the crew can evaluate current surface conditions and specify the right primer and topcoat combination for your property.
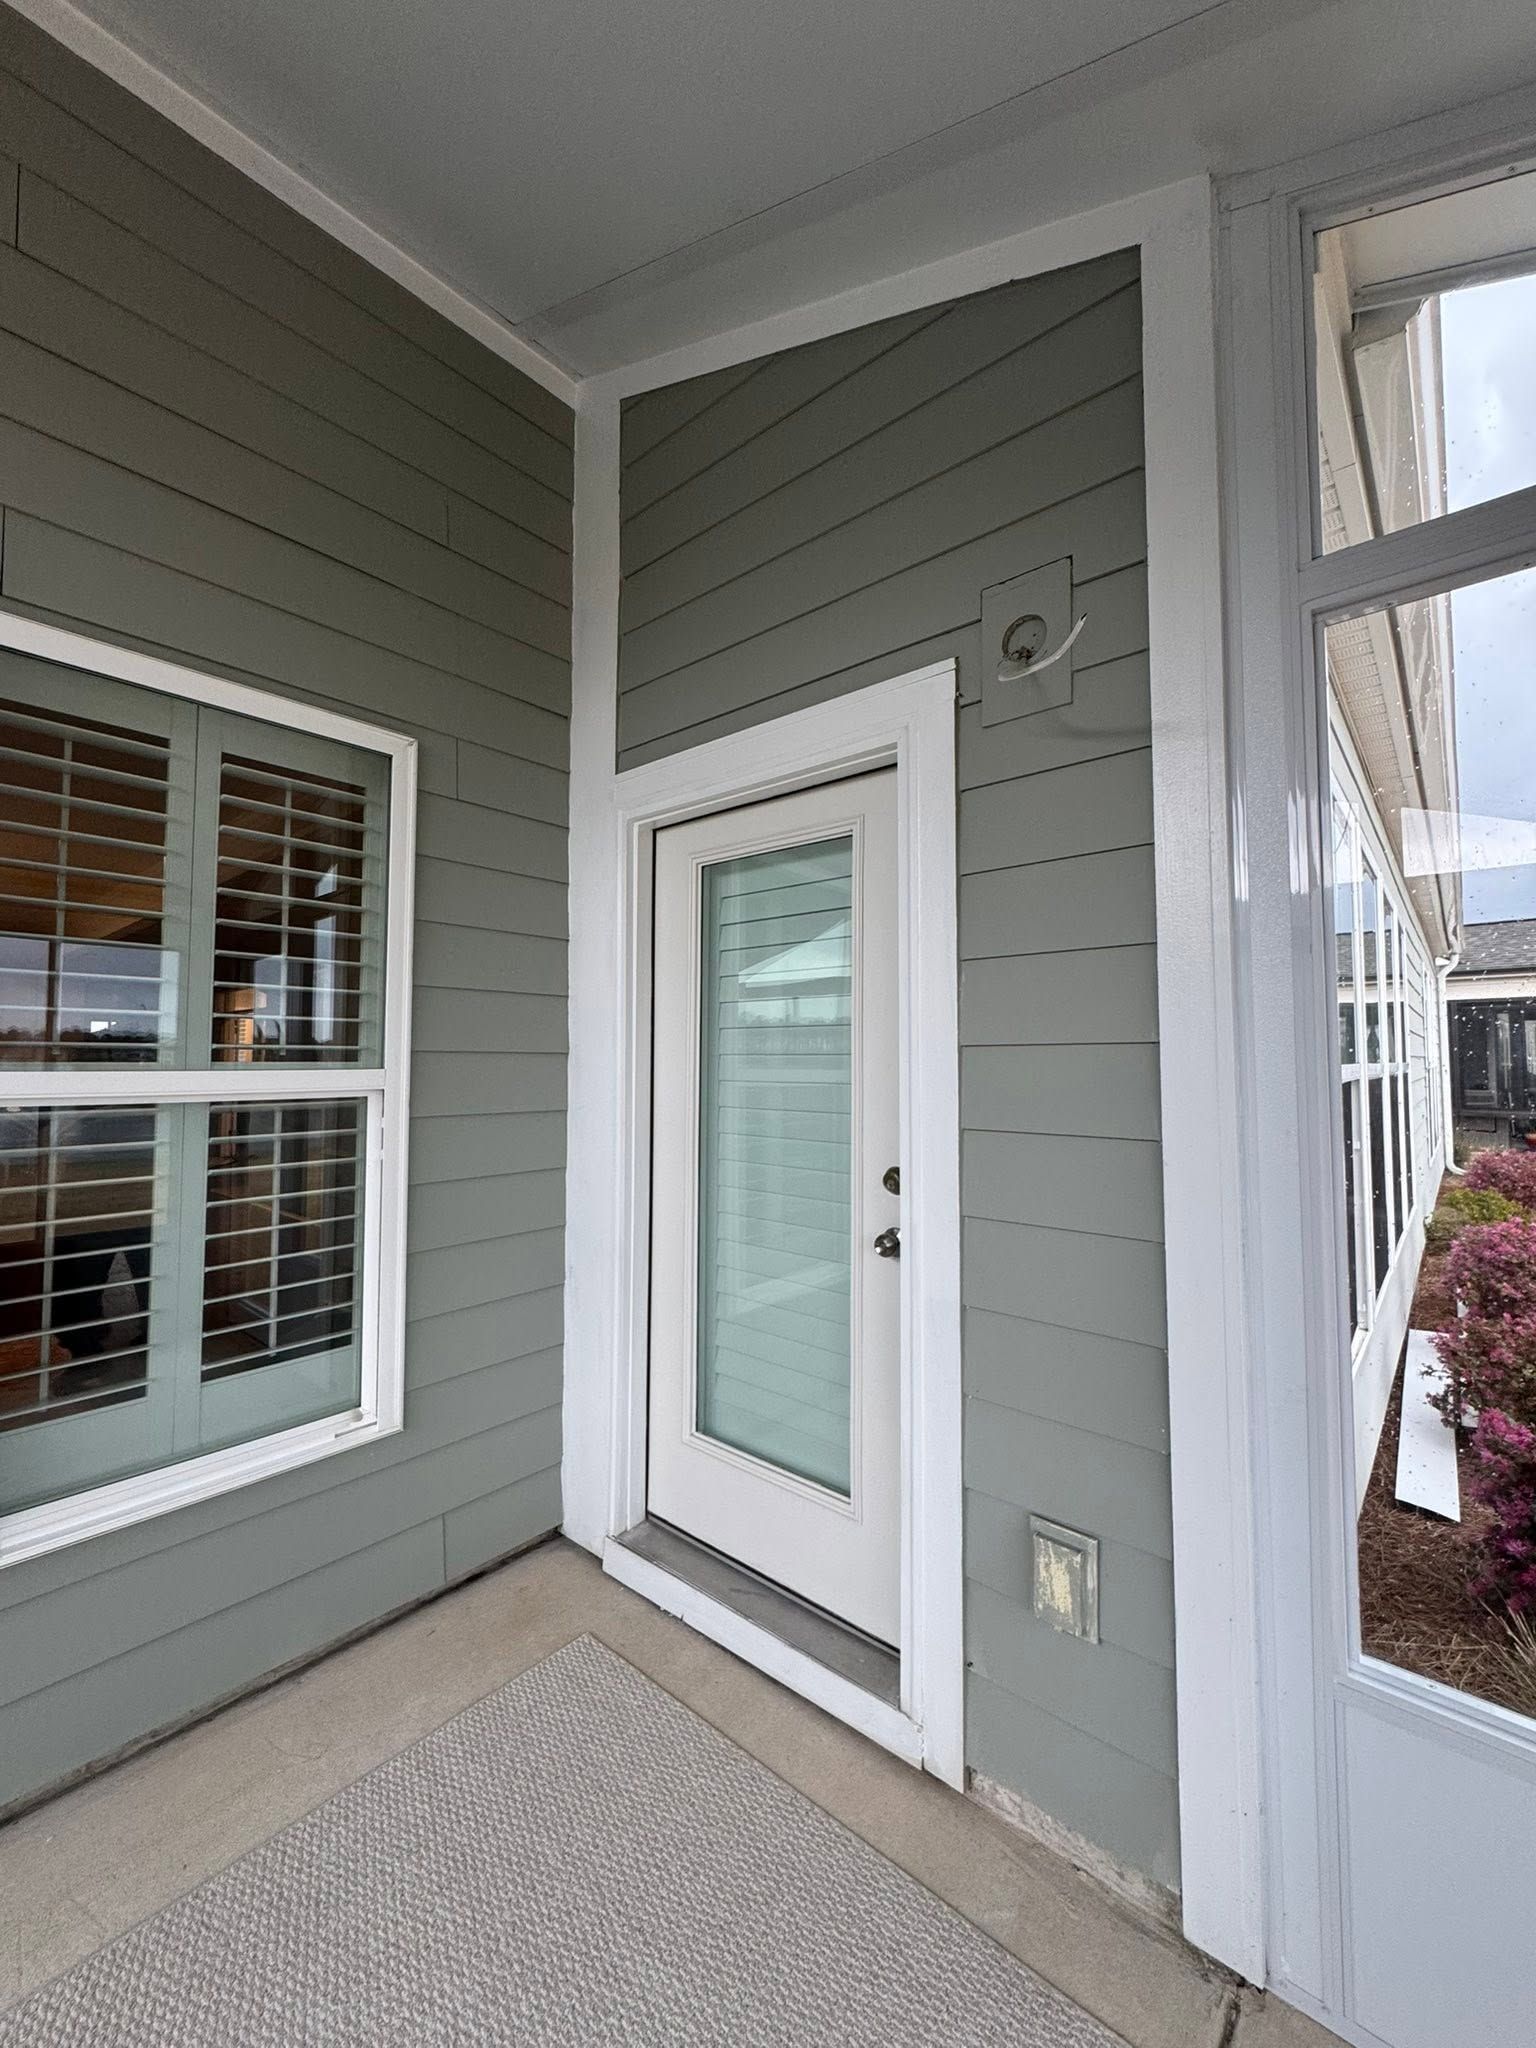
How Exterior Prep Decisions Affect What You See in Year Three
Paint selection and application method matter, but surface preparation is what separates a finish that holds for seven to ten years from one that starts peeling at the edges and around trim within two or three. Pressure washing removes surface contamination, but it also needs to be timed correctly—paint applied over a surface that has not dried fully after washing will trap moisture under the film and blister from beneath. The M & J Drywall & Construction crew coordinates pressure washing with primer application so surfaces are fully dry before coating begins.
After the exterior is complete, the observable difference shows up in how the finish lies across different substrates. On homes with a mix of wood trim, fiber cement siding, and masonry foundation sections—common in custom residential builds in the Mount Pleasant area—each substrate type takes primer and topcoat differently. A properly prepared exterior shows consistent sheen and color saturation across all substrate types, with no areas where paint looks thin, chalky, or raised at edges. Trim lines where siding meets casings are sharp, and no brush or roller texture is visible in the finished coat.
Exterior painting is licensed and insured work at M & J Drywall & Construction, and free estimates are available for residential properties. Factors that affect how the exterior scope is structured include the number of substrate types present, whether existing paint has failed in sections that need stripping before repriming, and the total linear footage of trim relative to field area—trim-heavy exteriors take longer to prep and cut than large flat-face siding runs.
Answers About How Exterior Painting Work Gets Done
These questions address the practical mechanics of exterior painting, focusing on how prep, sequencing, and surface conditions affect the quality and longevity of the finished coat.
Why does pressure washing need to happen before exterior painting, and how long after washing can paint be applied?
Pressure washing removes chalking, dirt, mold residue, and salt deposits that prevent paint from bonding to the surface. The surface needs to be fully dry—typically at least 24 to 48 hours depending on conditions—before primer goes on, because moisture trapped under the paint film is a primary cause of early blistering.
How does the crew handle areas where existing paint has already failed or is peeling?
Failed paint sections require stripping or scraping back to a stable layer before priming, because painting over loose or flaking material transfers the adhesion failure to the new coat. The extent of failed areas affects how the prep phase is scoped and sequenced relative to the rest of the exterior.
What does working systematically around the exterior accomplish that section-by-section work does not?
Maintaining active wet edges as the crew moves around the building prevents lap marks where a dried section meets fresh paint. Section-by-section work that allows edges to fully cure before the adjacent section is painted is one of the most common sources of visible overlap lines on exterior finishes.
How are substrate transitions handled when a home has both wood trim and fiber cement siding?
Different substrates require different primers to achieve consistent adhesion, and the topcoat needs to be compatible with both. On custom homes in Charleston with mixed exterior materials, primer selection at transitions is a key decision that affects whether the finish coat bonds evenly across the full surface.
What should a completed exterior paint job look like when inspected up close?
Finished coats should show no visible brush or roller texture, consistent sheen across field and trim, no raised or lifted edges at substrate transitions, and clean cut lines where the paint meets windows, doors, and foundation. Any bubbling, wrinkling, or color variation at seams indicates either prep or application issues.
M & J Drywall & Construction also completes exterior painting in Goose Creek, Summerville, Moncks Corner, Beaufort, and Mount Pleasant. To get an accurate read on what your exterior needs before paint can go on, schedule a walkthrough with the crew while the current surface is visible and assessable.